Customising
While lists vary slightly depending on their content, they are consistent and familiar. Swipe left to delete and swipe right for more options depending on what you're viewing.
The small number to the right of all items represent the number of cases (or patients for a Patient Personal List) that attached to that item. To view those cases or patients, just tap the row. When viewing a list of Patients, tapping on the row will open the Edit Patient screen.
Favourited items will appear at the top of the screen for quick access.


Edit Mode
The chart/menu (ellipsis) button allows you to toggle Charts as well as finer control when in Edit Mode. Tap the Edit button to enter Edit Mode, to merge or delete multiple items and more.
When you select two or more items, additional menu options appear including the ability to create a Search to save for later, or a Quick Search to view all Cases with the selected items.
To add a new item to any list (including cases & patients) tap the Plus icon at bottom right.


Patient Details
Select either a Generic Patient or an actual (Specific) Patient.
When selecting a Specific Patient you have the option to choose an existing Patient or add a new one, which on iOS devices, will bring up the Label Scanner.
If you save the Case and the Patient already exists in your database, you will be prompted to use the Patient’s saved details, rather than duplicate them and if they have an existing label, this will be added.
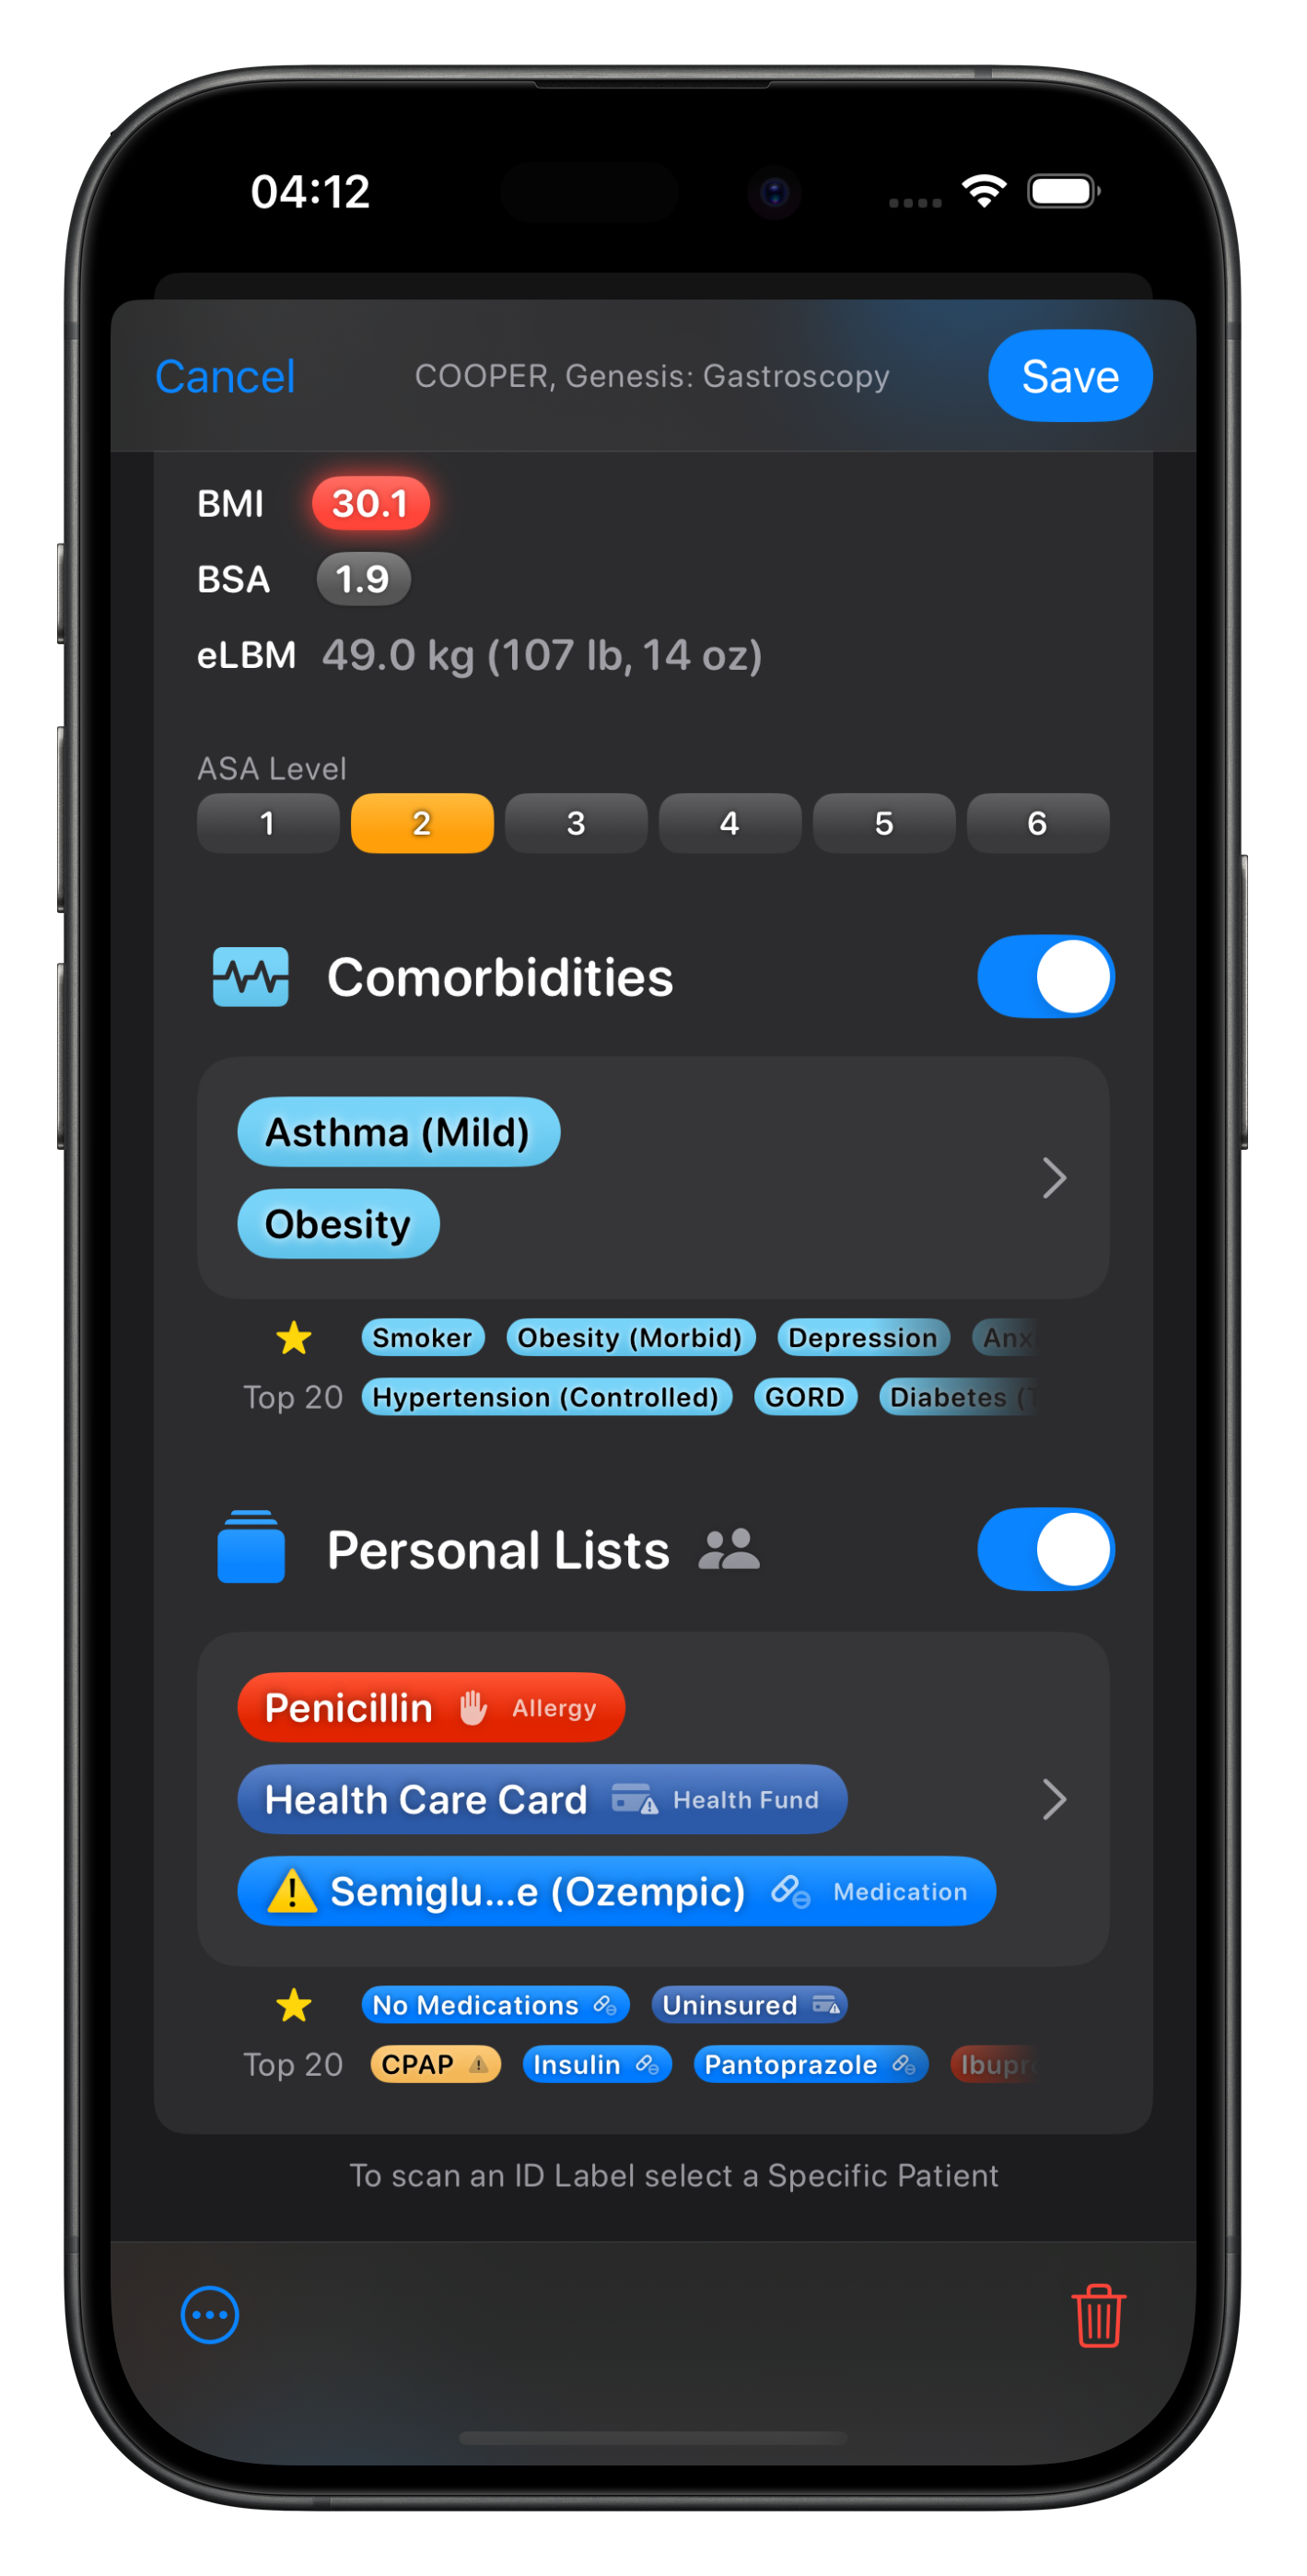
To add Comorbidities or Patient Personal List items, toggle the relevant section.
Then either tap the row to select items or, if you have existing Cases linked to them or favourited items in each category, quick add them with a tap, or even drag & drop the item bubbles.
Context menus for all item bubbles allow even more control.